Android 12 has a few surprises for mobile developers, and its new splash screen is one of the most notorious. In previous versions of the SDK, you needed to create an activity if you wanted to customize the splash screen. However, we now have access to the splash screen API to customize the screen. You can read more about it here and here.
In this post I will show Xamarin mobile developers how to use the new properties to include an icon on the splash screen. Also, I will demonstrate how to perform a basic animation on the splash screen so we can test out this new feature.
Android Icon and Resources
First, we need the appropriate images set in the app. You can use the default Xamarin.Forms icons, but I’ll use Trailhead’s logo :). I’ll begin by replacing the icons. I’m using IconKitchen to generate all the files for every screen size quickly:

Download the zip file, and after you are done replacing the resources, your solution should look something like this:

Now, there are additional changes we need to make. In our style.xml file, we need to define the splash screen properties for our theme:

“windowSplashScreenBackground” is the background color for the splash screen. It will attempt to calculate it from “windowBackground” if we don’t set it.
“windowSplashScreenAnimatedIcon” is what interests us in this example. It replaces an icon in the center of the starting window. If the object is animated and drawable, it will also play the animation while showing the starting window.
Remember, these values only work for the API level 31 or newer and will be ignored on older versions.

Android Animation
Now, let’s get into the more complicated part. You can perform the animation with a png, but I would advise against it because animations usually transform and distort the content and you might not get the desired result. Different-sized PNGs were meant to be used in earlier versions of Android when nobody knew how many screen sizes manufacturers would create. SVGs are the safest option here because it won’t matter on which screen it’s drawn; it will scale to fit it perfectly.
Having said that. If you don’t have an SVG file, you can either ask your local designer to create one, or you can use FreeConvert to generate one (you might need to clean the result a bit, though).
The Android splash screen dimensions follow the same specifications as Adaptive icons. If you need to adjust your image, you can use a free editor, like Method Draw.
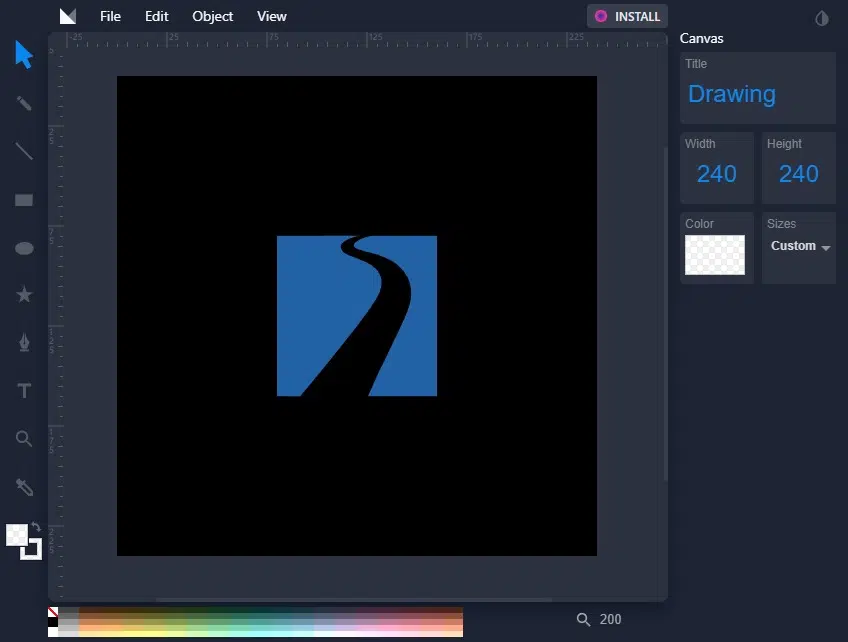
Open Shapeshifter and import your SVG file. If it’s not in a group, you must create one and move your layers under that group. Notice there’s a small clock to the right of each layer. That’s where we can set an animation for our SVG. Sadly, you can only add an alpha transition to the vector, hence you need to create a group. Groups can create rotations, scaling, translations, and so on. You can read more about it here.

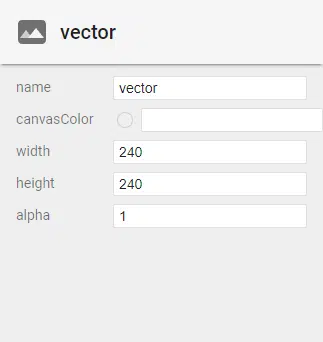
First, check the dimensions of your vector and set the pivot by half of the height and width in your group. This will make the animation origin in the center.

Now you can set the animation in the group. In this example, I’ve decided to use a rotation animation with an alpha transition.


Once you are happy with the result, export it as an “Animated Vector Drawable” and add it to your Android project.
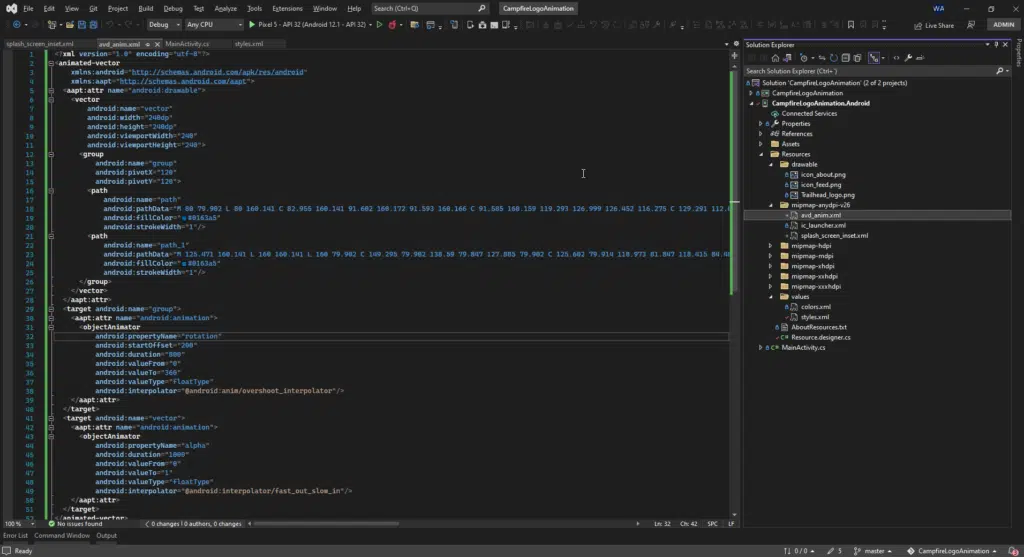
Don’t forget to replace the old icon with your new animated icon. Also, you might need to add the animation duration:

“windowSplashScreenAnimationDuration” was introduced in API 31. It was meant to be used to set the animation duration. Sadly, it had a short life. It was deprecated in API 33 because the app can infer the animation duration based on the animated vector drawable you’ve set.
Now let’s see the result!

Not so bad, huh? Now you know how to include animations in your splash screens.
BONUS TRACK: Branding
Want to add a branding image to the splash screen? Sure! You only need to set the “android:windowSplashScreenBrandingImage” property:

And this is the outcome:
I hope this can help you. As always, you can check the source code here. Happy coding!