Google Maps provides powerful mapping technology that is available to use inside your own applications. In this blog, I’ll explain how you can get started using it inside an Angular web app.
Before You Start
Before you can start working with Google Maps in your Angular app, you need to get a Google Map API key, which you can do here: Get Your API Key for Google Maps
Set Up Google Maps
After getting you API key, you will need to add Google Maps to the <head> tag of your application’s index.html page so it will download the Google Maps into your application. That code will look like the following:
<script src="https://maps.googleapis.com/maps/api/js?key=API_KEY"></script>Please do not forget to replace the API_KEY with your own key.
After adding the script, you will need to install the Google Maps Angular component (@angular/google-maps) using NPM, which is used as a wrapper for the Google Maps JavaScript APIs. To install the @angular/google-maps component, use the command below:
npm i @angular/google-mapsAfter installing the @angular/google-maps component, it is necessary to import it to the app module or component module in the application where it will be used:
import { GoogleMapsModule } from '@angular/google-maps'
...
@NgModule({
  declaration: [ ... ]
  imports: [ ..., GoogleMapsModule ],
 })
...
After all these preliminary settings, you can now add a Google Maps component in your application by using <google-map> in the HTML:
<div class="map">
  <google-map></google-map>
</div>
Google Maps’ Initial Settings
Let’s move on to setting up the map’s display. There are several parameters available for the Google Maps component, including the following:
- width & height
- mapTypeId
- center
- zoom
- options
When we first load the application, the default settings for centering and zooming will be used on the map.
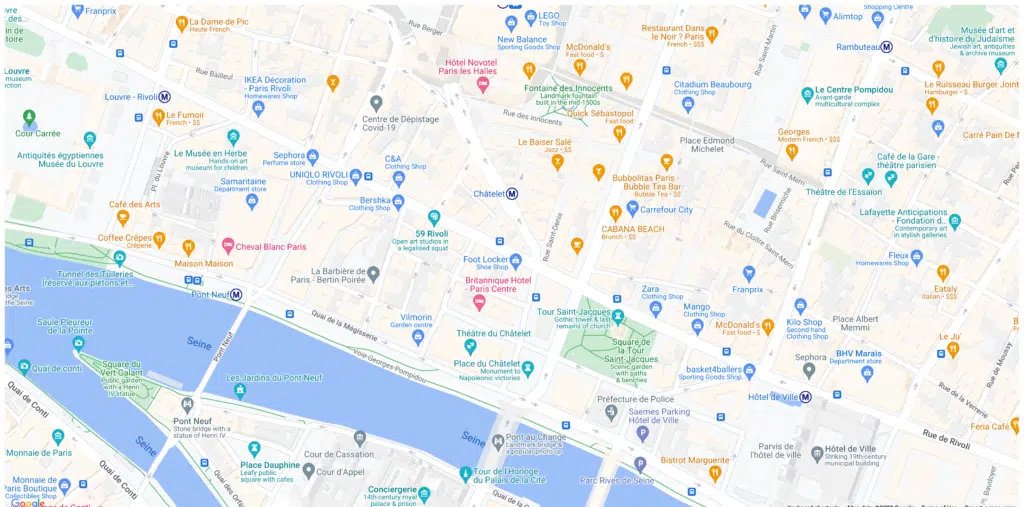
If you plan to use the map to display a specific location, you must add map settings using the [options] attribute. For example, we can add Paris as the center position of the map:
<div class="map">
  <google-map [options]="mapOptions"></google-map>
</div>
import { Component } from '@angular/core';
@Component({
selector: 'app-root',
templateUrl: './app.component.html',
styleUrls: ['./app.component.css']
})
export class AppComponent {
mapOptions: google.maps.MapOptions = {
center: { lat: 48.8588548, lng: 2.347035 },
};
}The map now displays with its center at the specified location.
There are several ways to remove the UI buttons you don’t want. One way is to set the disableDefaultUI attribute to true. This will remove all zoom control, map type control, street view control, and fullscreen control from the map.
The other way is to set those controls to false individually. This way, you can keep what you need and remove what you don’t want:
mapOptions: google.maps.MapOptions = {
    center: { lat: 48.8588548, lng: 2.347035 },
    zoomControl: false,
    mapTypeControl: false,
    streetViewControl: false,
    fullscreenControl: false,
};
Add a Marker
We can use the component to add markers to the map, which takes options and a position as input parameters. Let’s add a marker for the Eiffel Tower:
import { Component } from '@angular/core';

@Component({
  selector: 'app-root',
  templateUrl: './app.component.html',
  styleUrls: ['./app.component.css']
})
export class AppComponent {
  mapOptions: google.maps.MapOptions = {
    center: { lat: 48.8588548, lng: 2.347035 },
    zoomControl: false,
    mapTypeControl: false,
    streetViewControl: false,
    fullscreenControl: false,
  };

  markerPosition = { lat: 48.8634286, lng: 2.3114617 };
}
<div class="map">
<google-map height="100vh"
width="100%"
[options]="mapOptions">
<map-marker [position]="markerPosition"></map-marker>
</google-map>
</div>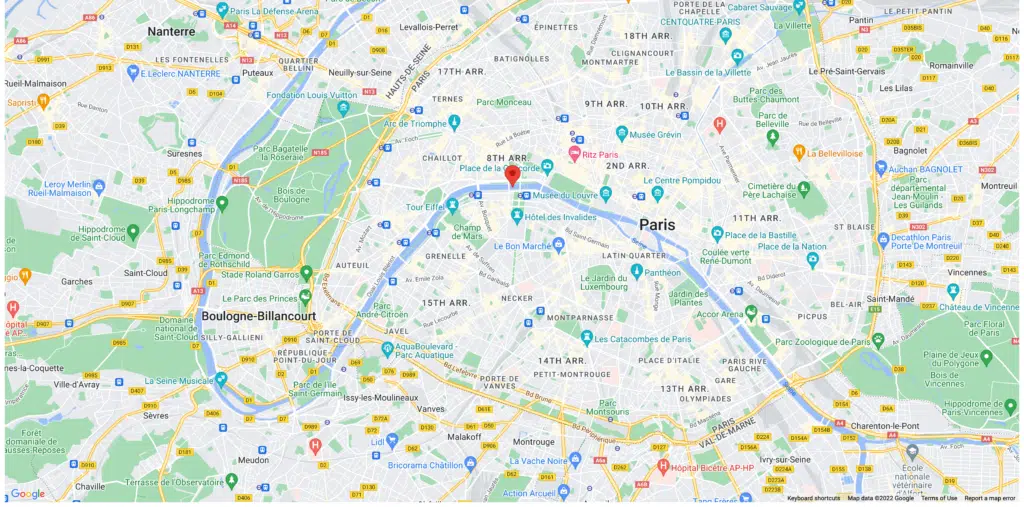
Conclusion
I hope that this short guide to using Google Maps will help you easily start using and configuring Google Maps.