The Float Label Pattern was introduced as a UI concept back in 2013 by Matt (@mds). Less than a year later it became a part of the “Material” design guidelines. There are a number of ways to implement floating labels in a Xarmarin Forms project – starting from building it from scratch or using wrappers for well-known native controls and ending with Xamarin Forms Material Visual. Here I’m going to show you another way with a user control, maintaining full control over appearance and animation.
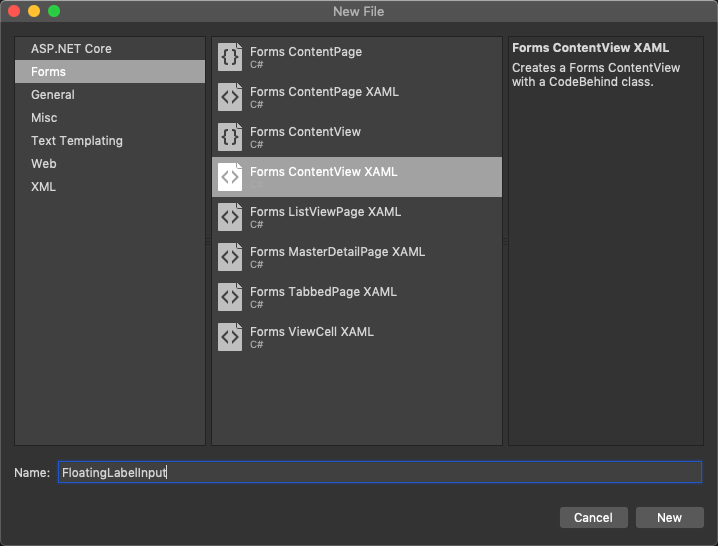
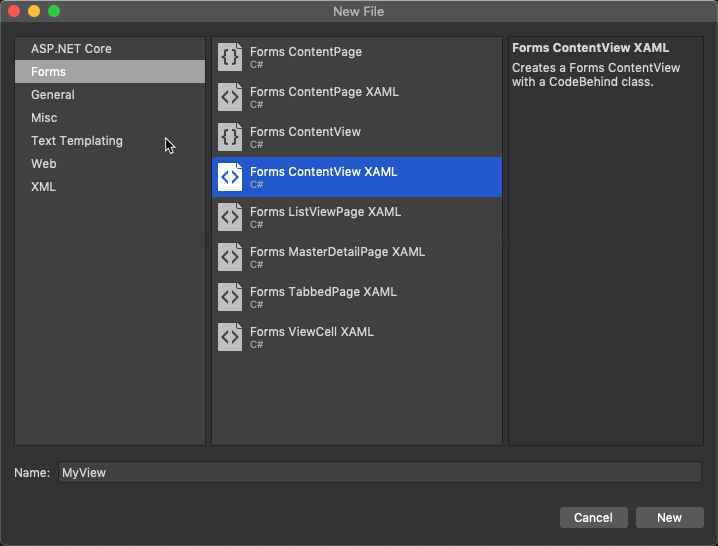
Let’s start by creating a Xamarin Forms project and adding a ContentView XAML file to it.
Our user control will be a composition of two standard XF controls: a Label control and an Entry control. Also, I’m using a Grid layout to position the label on top of the entry field.
<?xml version="1.0" encoding="UTF-8"?>
<ContentView xmlns="https://xamarin.com/schemas/2014/forms"
             xmlns:x="https://schemas.microsoft.com/winfx/2009/xaml"
             x:Class="FloatingLabels.Controls.FloatingLabelInput">
    <ContentView.Content>
        <Grid>
            <Entry x:Name="EntryField"></Entry>
            <Label x:Name="LabelTitle"></Label>
        </Grid>
    </ContentView.Content>
</ContentView>
We don’t want to expose the underlying controls, so let’s give consumers another way to customize the label and read the user input. First, let’s add a couple of bindable properties to the code behind.
public static readonly BindableProperty TextProperty = BindableProperty.Create("Text", typeof(string), typeof(string), string.Empty, BindingMode.TwoWay, null, HandleBindingPropertyChangedDelegate);
public static readonly BindableProperty TitleProperty = BindableProperty.Create("Title", typeof(string), typeof(string), string.Empty, BindingMode.TwoWay, null);
public string Text
{
    get => (string)GetValue(TextProperty);
    set => SetValue(TextProperty, value);
}
public string Title
{
    get => (string)GetValue(TitleProperty);
    set => SetValue(TitleProperty, value);
}
And second, let’s bind the child controls to these properties.
<?xml version="1.0" encoding="UTF-8"?>
<ContentView xmlns="https://xamarin.com/schemas/2014/forms"
             xmlns:x="https://schemas.microsoft.com/winfx/2009/xaml"
             x:Class="FloatingLabels.Controls.FloatingLabelInput"
             x:Name="this">
    <ContentView.Content>
        <Grid>
            <Entry x:Name="EntryField"
                Text="{Binding Text, Source={x:Reference this}}"></Entry>
            <Label x:Name="LabelTitle"
                Text="{Binding Title, Source={x:Reference this}}"></Label>
        </Grid>
    </ContentView.Content>
</ContentView>
Notice that I set the x:Name attribute of the content view and used the x:Reference binding extension to reference that name. This technique lets us expose any properties of the child controls without exposing the controls themselves. Now consumers of the user control can change the Title property and the Label.Text will be automatically updated. And since we’re using bindable properties, consumers can also bind to the Text property of the FloatingLabelInput and stay updated when users type anything. In the final solution, I’m going to expose a couple more properties that I’m interested in.
Now it’s time to make the label truly floating. The logic is straightforward: each time when the entry is empty and gets focus – move the placeholder up, each time when the entry is empty and loses focus – move the placeholder back. There are a few edge cases, but I’ll get back to them later. So let’s handle the Focused and Unfocused events of the Entry control.
<Entry x:Name="EntryField"
    Text="{Binding Text, Source={x:Reference this}}"
    Unfocused="Handle_Unfocused"
    Focused="Handle_Focused"></Entry>
async void Handle_Focused(object sender, FocusEventArgs e)
{
    if (string.IsNullOrEmpty(Text))
    {
        await TransitionToTitle(true);
    }
}
async void Handle_Unfocused(object sender, FocusEventArgs e)
{
    if (string.IsNullOrEmpty(Text))
    {
        await TransitionToPlaceholder(true);
    }
}
async Task TransitionToTitle(bool animated)
{
    if (animated)
    {
        var t1 = LabelTitle.TranslateTo(0, _topMargin, 100);
        var t2 = SizeTo(_titleFontSize);
        await Task.WhenAll(t1, t2);
    }
    else
    {
        LabelTitle.TranslationX = 0;
        LabelTitle.TranslationY = -30;
        LabelTitle.FontSize = 14;
    }
}
async Task TransitionToPlaceholder(bool animated)
{
    if (animated)
    {
        var t1 = LabelTitle.TranslateTo(10, 0, 100);
        var t2 = SizeTo(_placeholderFontSize);
        await Task.WhenAll(t1, t2);
    }
    else
    {
        LabelTitle.TranslationX = 10;
        LabelTitle.TranslationY = 0;
        LabelTitle.FontSize = _placeholderFontSize;
    }
}
The most interesting parts of the code above are the TransitionToTitle and TransitionToPlaceholder methods. The first one moves the label above the entry and decreases the font size, the second one reverts it back. And what’s good – you have full control over the animation here: choose which properties to animate, change the speed, adjust end positions, add easing functions, whatever you want.
Now let’s get back to the edge cases. Did you notice that the transition methods have a parameter that lets you skip the animation? We need it to set the initial position of the label. We don’t want to animate a dozen labels when a user opens a pre-filled form. We also don’t want to have the animation when the text is changed programmatically.
public static readonly BindableProperty TextProperty = BindableProperty.Create("Text", typeof(string), typeof(string), string.Empty, BindingMode.TwoWay, null, HandleBindingPropertyChangedDelegate);
static async void HandleBindingPropertyChangedDelegate(BindableObject bindable, object oldValue, object newValue)
{
    var control = bindable as FloatingLabelInput;
    if (!control.EntryField.IsFocused)
    {
        if (!string.IsNullOrEmpty((string)newValue))
        {
            await control.TransitionToTitle(false);
        }
        else
        {
            await control.TransitionToPlaceholder(false);
        }
    }
}
Having that in place, let’s make some final improvements. Our placeholder sits on top of the entry field and can prevent users from focusing on the entry field. Let’s make it pass the focus to the entry field.
<Label x:Name="LabelTitle"
    Text="{Binding Title, Source={x:Reference this}}">
    <Label.GestureRecognizers>
        <TapGestureRecognizer Tapped="Handle_Tapped" />
    </Label.GestureRecognizers>
</Label>
void Handle_Tapped(object sender, EventArgs e)
{
    EntryField.Focus();
}
And finally, let’s make it possible to put focus on the FloatingLabelInput programmatically.
public new void Focus()
{
    EntryField.Focus();
}
And that is all we need. Let’s take a look at the final result:
Not bad, what do you think?
Happy coding! And let me know if you have any questions.
As always the entire working solution is available on Github.


