Creating a free Azure account
Did you know you could create a free Microsoft Azure account for learning and testing purposes? Doing so will provide you with 12 months of free access to popular services, a $200 credit for the first 30 days, and access to the free tier of 25+ services.
All you need is an email account, a phone number, and a credit card (used only for identity verification purposes)
To get started, select the Start free option from this link.

If your prefered email address is not already associated with a Microsoft account, select the “Create one!” option.

Type your email and create a password.


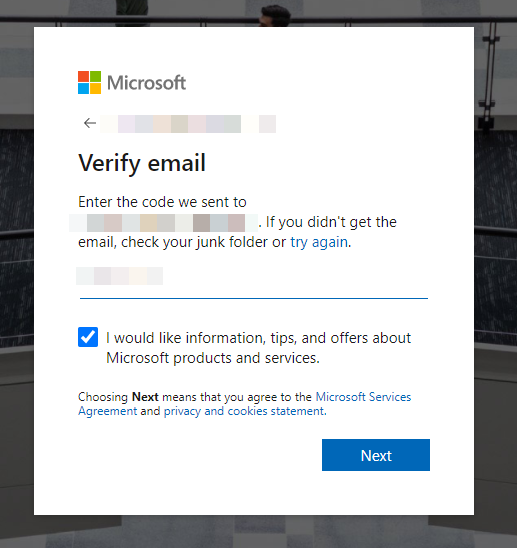
You will need to verify your email address, using the code emailed to you by entering that code in the following dialog.
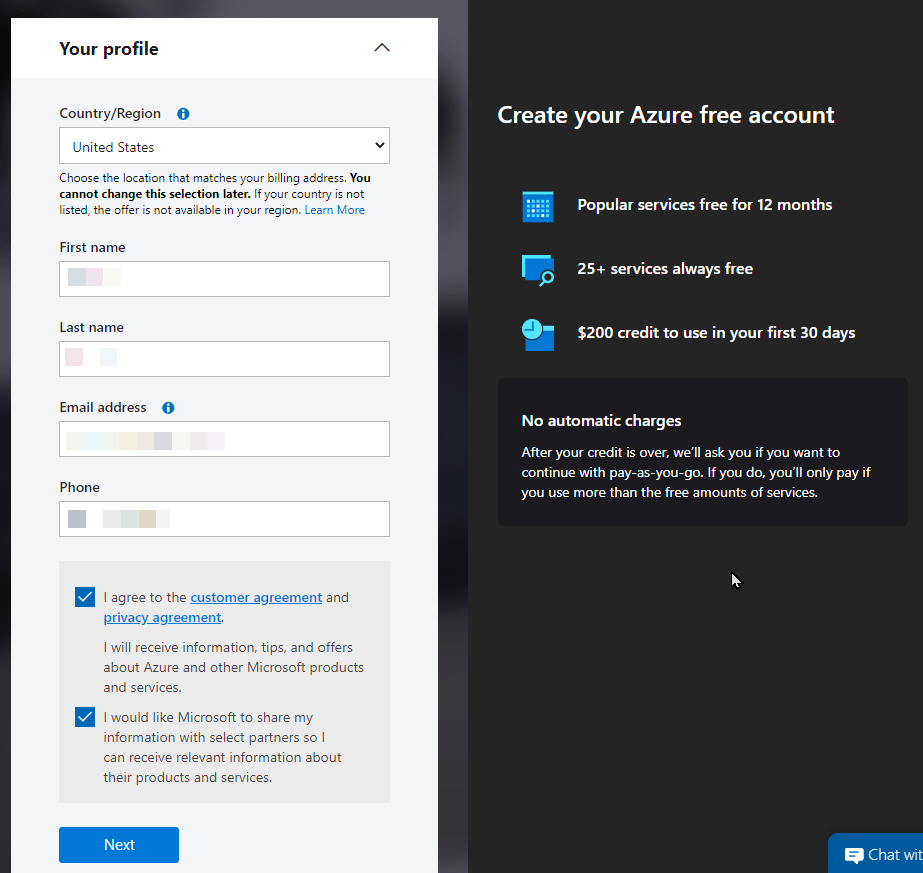
After that, you can complete your profile.
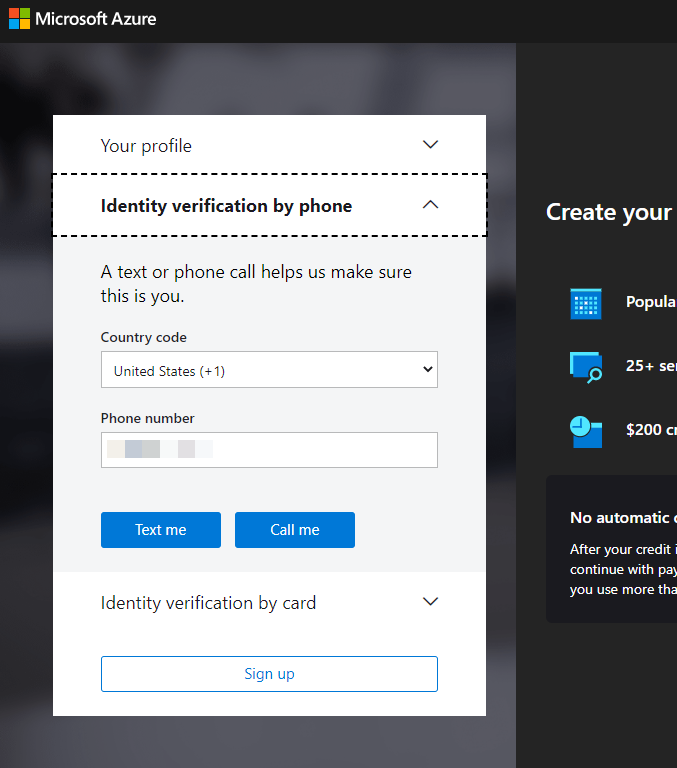
Finally, you will very your identity with the phone number and your credit card information. Note that the credit card will not be billed yet, but is just used to verify your identity.
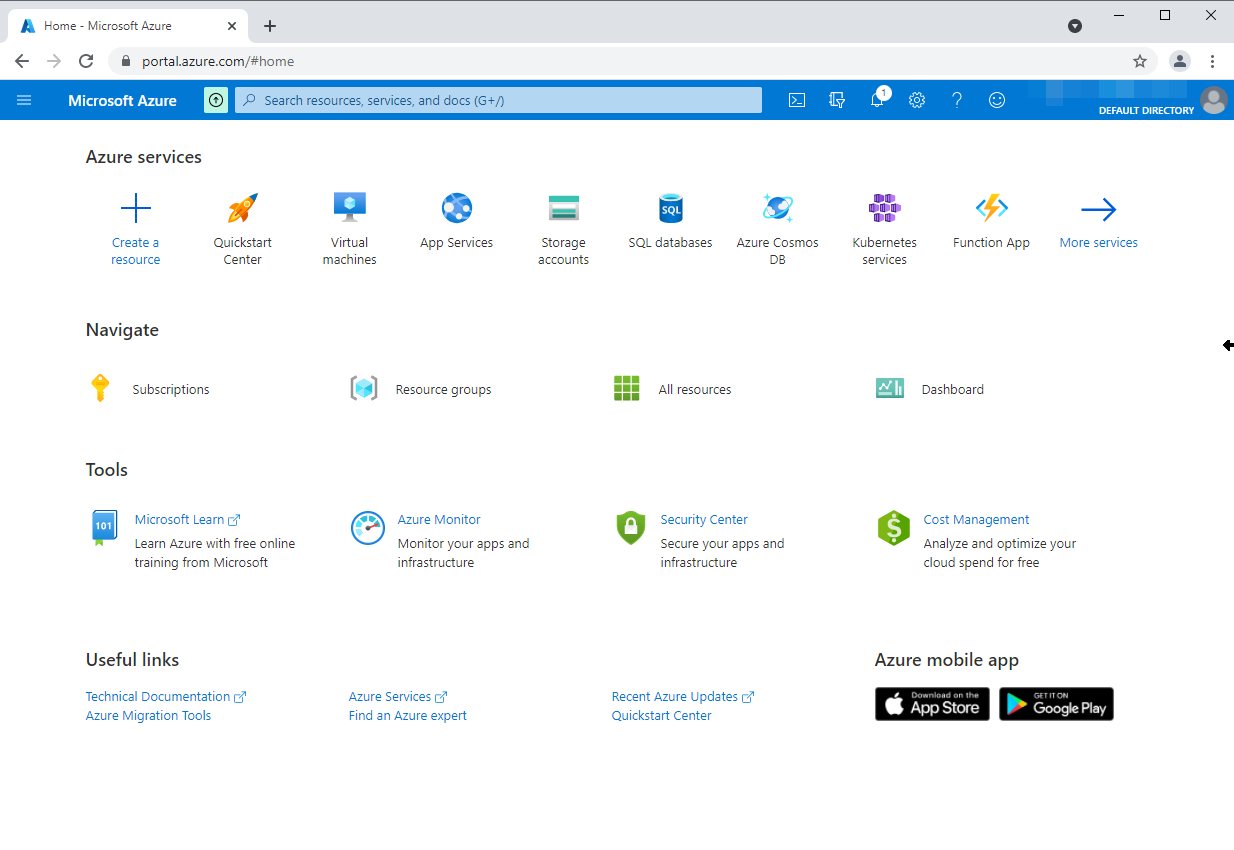
After a few moments, your account will be created and you can get started learning Azure.

To return to your account at any time, simply access the Azure portal by going to portal.azure.com.
Creating a free Cosmos DB account
CosmosDB is a NoSQL serverless database from Microsoft.
I’m using the free tier serverless version, and right now the free tier can’t be configured using the portal, so we will need to use the Azure command-line interface or Azure CLI. In a previous post, I included some information about how to get start using the Azure CLI.
To start, open a Power Shell terminal and use the az login command with your account credentials.
Then, we will create a resource group as a container for our resources, setting the desired location with the –location parameter
az group create --location eastus --resource-group MyFreeResourceGroup
As a result, a new group will be created, and we will see a list of our groups

To create the Cosmos DB resource, we will use the following command:
az cosmosdb create -n freecosmosdbaccount --enable-free-tier --capabilities EnableServerless --resource-group MyFreeResourceGroup
After a few minutes, the new CosmosDB resource will be available, and we can verify it using this command:
az cosmosdb list --resource-group MyFreeResourceGroup
To create a database instance inside our new CosmosDB resource, we will use this command:
az cosmosdb sql database create -a freecosmosdbaccount -g MyFreeResourceGroup -n myfreedb
Finally, to create a container (which is similar to a table for those familiar with relational database), we need the following command. You can see additional information about containers here.
az cosmosdb sql container create -a freecosmosdbaccount -g MyFreeResourceGroup -d myfreedb -n myfreecontainer -p '/id'
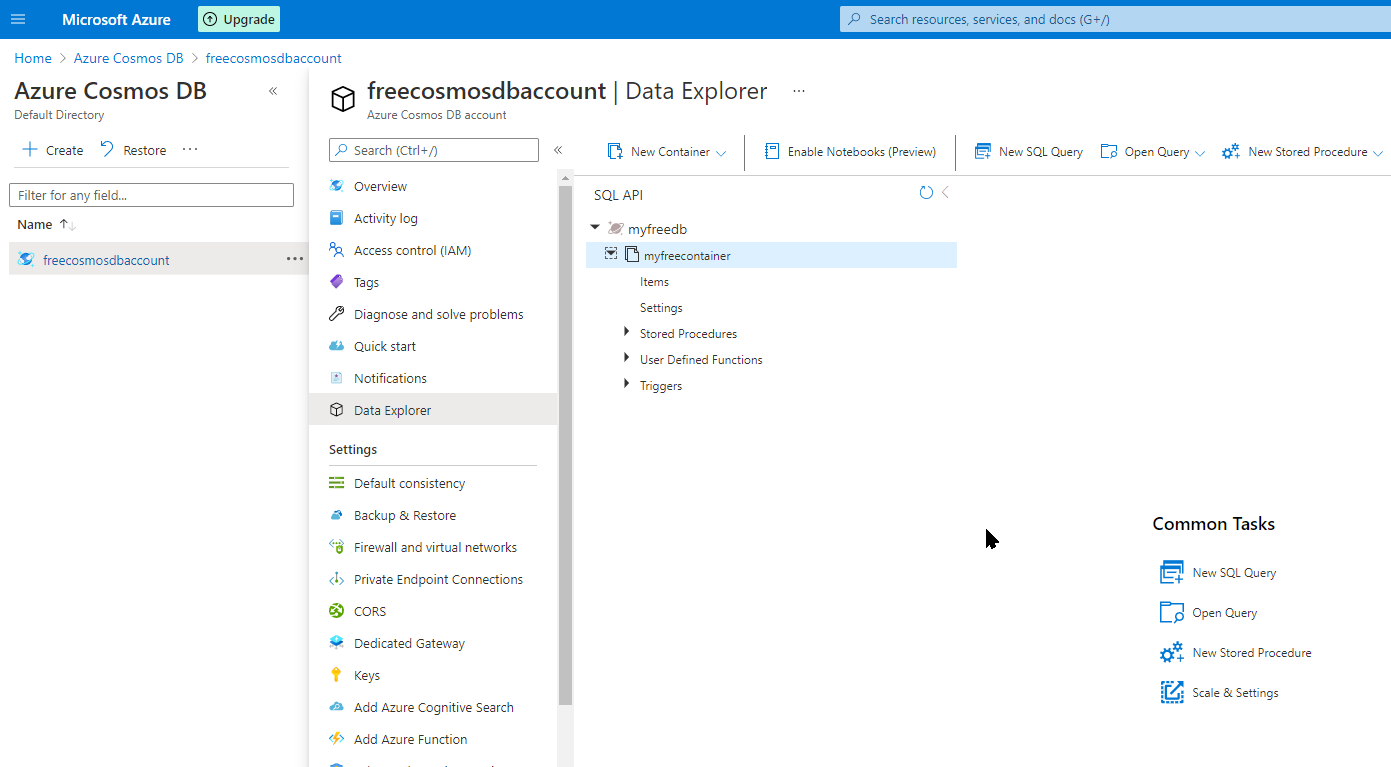
Now we can go to the Azure Portal to see our newly created CosmosDB resource and see that everything we created in it is there.
That’s it for now!
In an upcoming blog post, I will show you how to use Cosmos DB from your Azure Functions apps. If you are interested in getting started with Azure Functions, check out my blog post on that topic.